
Customize branding regions
- Applies to:
- MindTouch (current)
- Role required:
- Admin
Customization templates can contain HTML, CSS and DekiScript. However, to use LESS functionality, all CSS must be entered into Custom Site CSS.
We also recommend that you include all global JavaScript or jQuery in the Custom HTML field in the Control Panel because custom regions are not loaded in mobile views.
Custom regions
Customizable header, login, and footer regions in Expert.
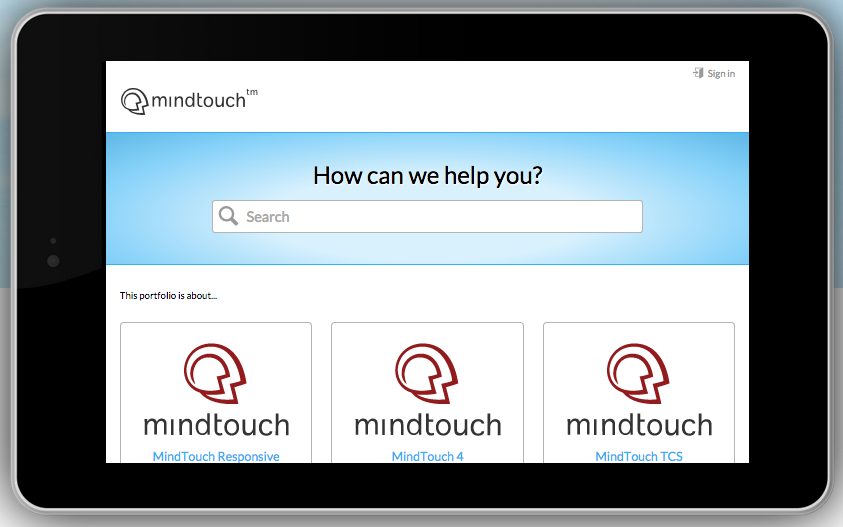
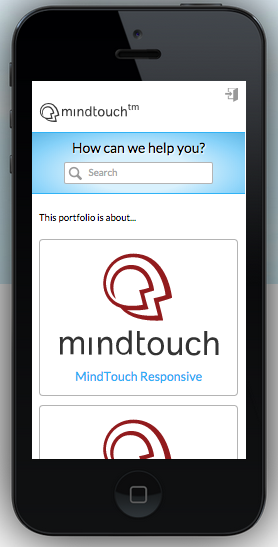
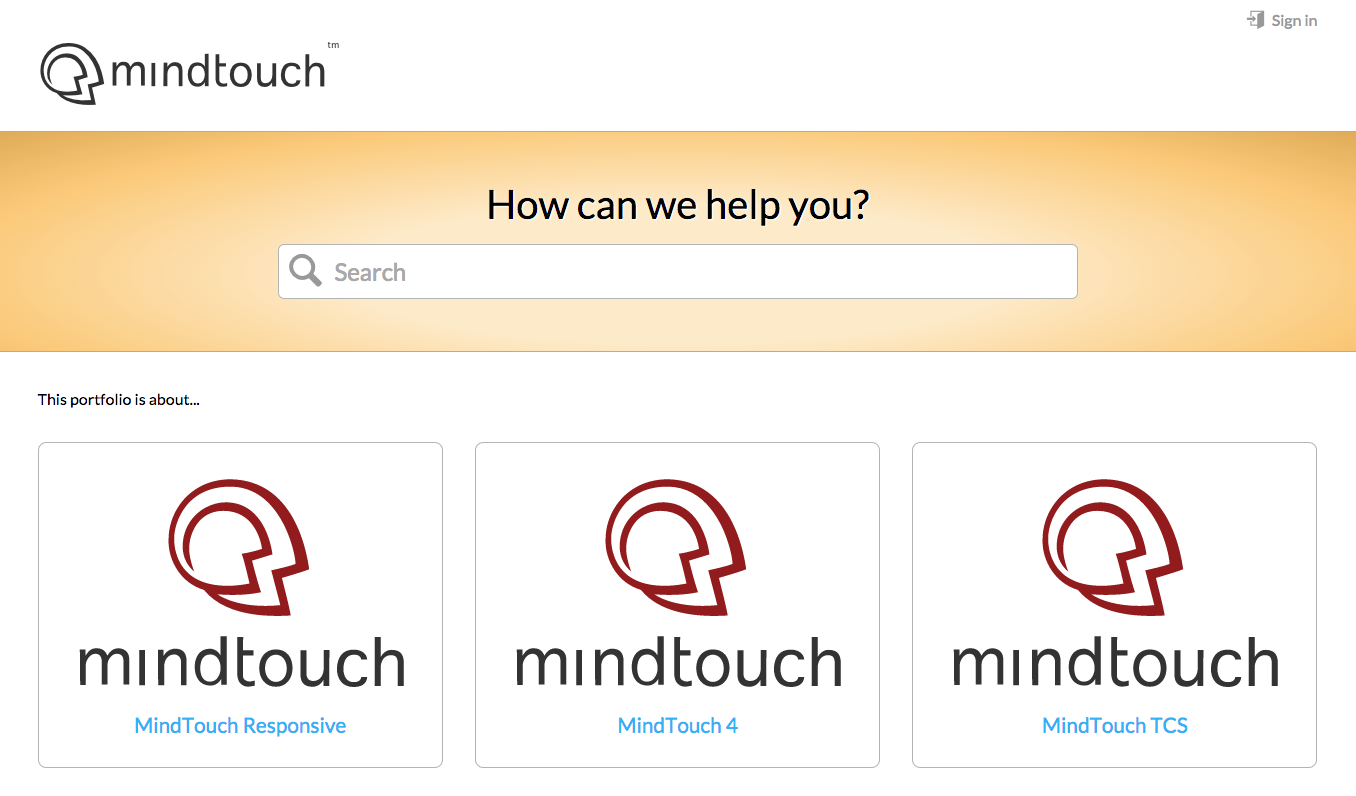
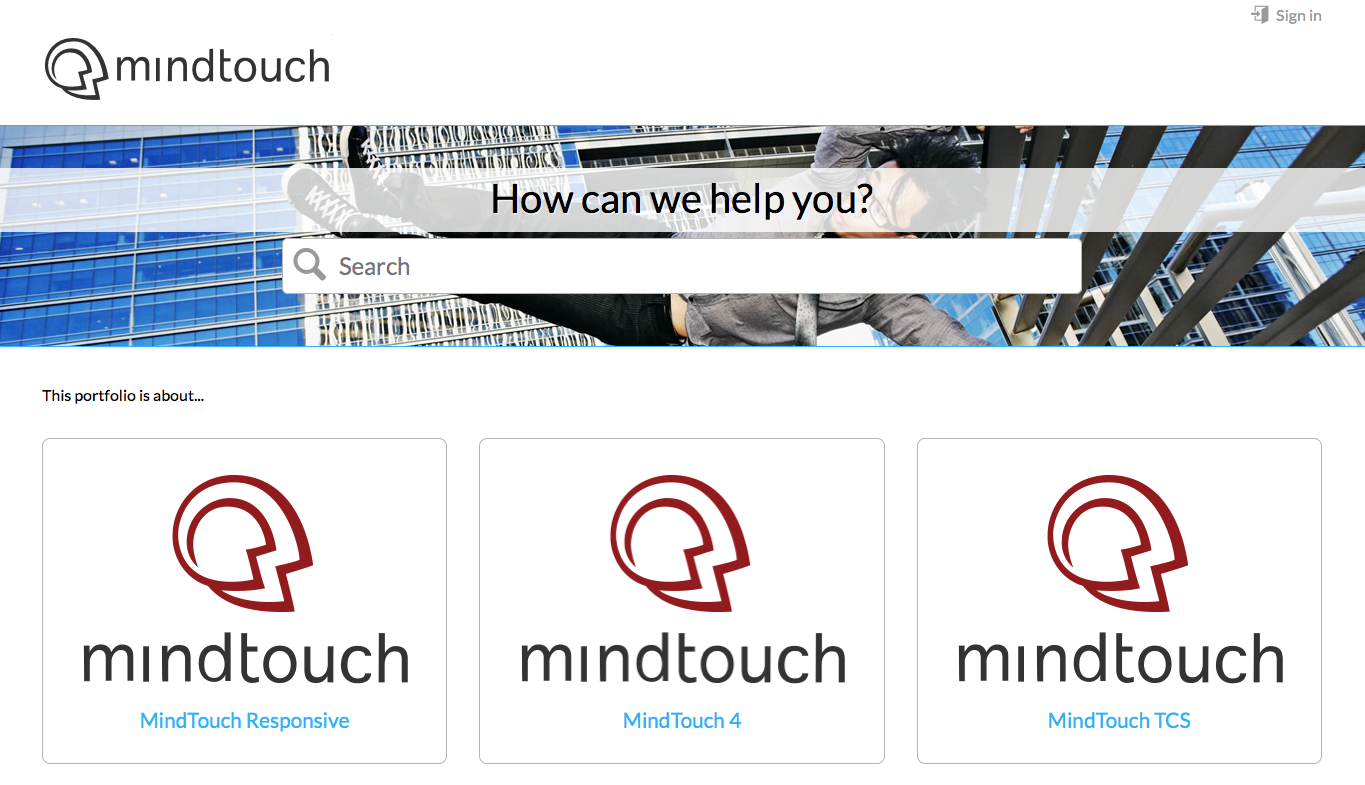
Sample homepage views
The Expert home page comes already styled so you can get your site up and running faster. Instead of spending hours trying to get your home page design set up, you can spend minutes choosing a navigation template and adding your custom content. Customizing your home page's splash banner is as easy as adding a LESS variable to the Custom Site CSS.
Desktop view
Tablet view
Mobile view
Customize your homepage
Choose your template
When you first sign into your Expert site (as admin), a splash screen prompts you to choose a template to apply to your home page. Depending on the depth of your hierarchy, choose either the Category template (for deep hierarchies) or the Guide template (for shallow hierarchies).
Add your home page content
After you chose a template type, Expert displays example content on your home page. Add as much or little content as you want to personalize your home page. Do not yet touch the code in the DekiScript block.

Customize your homepage
To customize the home page, click Edit on the Expert toolbar. You will see the following DekiScript and CSS blocks related to your splash banner:
Edit the splash banner message
Code block comments (the text after the double slashes //) guide your customization. Edit the HTML where indicated to change how your users are greeted on your home page.
<html>
    <body target="elm-home-banner">
        <div class="mt-prepend-home mt-custom-home elm-nav">
            <div class="elm-nav-container">

            // DO NOT edit above this comment. Edit HTML below only.

                <h1 class="mt-home-search-title"> 'How can we help you?' </h1>
                template('MindTouch/Controls/HelpWidget', {
                     placeholder: 'Search'
                });

            // DO NOT edit below this comment. Edit above HTML only.

            </div>
        </div>
    </body>
</html>
Modify home page elements
The comments in the CSS code (text between /* and */) explain how the code affects the home page. The code can be further modified with some CSS skills.
/* Hides the page summary and thumbnail template on home. */
.columbia-page-home .mt-page-summary {
    display: none;
}

/* Hide the user navigation for community and anon on home. Shows it for pro members. */
.columbia-page-home .elm-header-user-nav {
    display: none;
}
.elm-user-pro-member.columbia-page-home .elm-header-user-nav {
    display: block;
}

/* Hide the user navigation for community and anon on home. */
.columbia-page-home .elm-header-home-nav {
    display: block;
}

/* Hides the user nav's global search on home. */
.columbia-page-home .elm-global-search {
    visibility: hidden;
}

/* Sets the correct positioning of the footer based on user role for home only. */
.columbia-page-home .elm-footer {
    bottom: auto;
}
@media all and (min-width: 18.75em) {
    .elm-user-pro-member.columbia-page-home .elm-footer {
        bottom: 3.4em;
    }
}
@media all and (min-width: 37.5em) {
    .elm-user-pro-member.columbia-page-home .elm-footer {
        bottom: auto;
    }
}
Change your splash banner color
The color gradient is generated based on your site's highlight color and can be updated either by changing the LESS variable @highlight-color or by adding your own @splash-container-base-color definition to the Custom Site CSS.
// This LESS variable changes the splash banner's gradient from blue to orange
@splash-container-base-color: #faa319;
Use a banner image
To use an image instead of the gradient, add the following LESS mixin (works like a CSS rule set) to the Custom Site CSS. This CSS overwrites the default gradient applied to the splash banner. When using a background image, keep its file size in mind since it will affect site load, especially on mobile devices.
// Replace the text "URL-TO-MY-IMAGE/my-image.png" with a link to the image you would like to add
.mt-splash-container {
    background: url(URL-TO-MY-IMAGE/my-image.png);
}
How to customize the site header
The header region allows you to add custom content above the logo of your Expert site. Headers are visible in all screen sizes until you reach the mobile-sized views (roughly less than 480 pixels wide). Navigate to Site tools > Dashboard > Site Administration > Header template and edit the template to include your custom content.
Header example

Add a custom login link
To add your own custom login link to your header, use the following DekiScript to ensure the correct functionality:
var signOnUrl = '/@app/login/redirect?return=' .. Uri.Encode(page.uri);
<a href=(signOnUrl) title="Sign in"> 'Sign in' </>
Simply adding a link to /Special:UserLogin will not account for any SSO or page redirects.
How to customize the site footer
The footer region allows you to add custom content below the content of your Expert site. Like headers, footers are visible in all screen sizes until you reach the mobile-sized views (roughly less than 480 pixels wide). Navigate to Site tools > Dashboard > Site Administration > Footer template and edit the template to include your custom content.
Footer example
How to customize the login screen
The login region allows you to add custom content below the content of your Expert site. Navigate to <your site>/Template:Custom/Views/Login and edit the template to include your custom content.
Login screen example
