
Custom Classifications
- Applies to:
- All MindTouch Versions
- Role required:
- Admin
Create custom classifications to organize and manage your content.
You can create new classifications, make classifications recursive, delete existing labels, and add to existing classifications.
By default, Custom Classifications will appear as an option to filter search results.
When to use custom classifications
- Organize pages in custom classification Guide Tabs
- Indicate a stage in a workflow
- Manage pages for particular products, versions, or features
Create custom classifications
- Navigate to Site tools > Control Panel > Systems Settings > Classifications.
- In the Add Classification section, enter a Prefix and Label for your custom Classification.
The Label will appear above the drop-down menu for this Classification in Page Settings. - If you want a selected Classification to automatically apply to sub-pages created underneath a page, select the Recursive option.
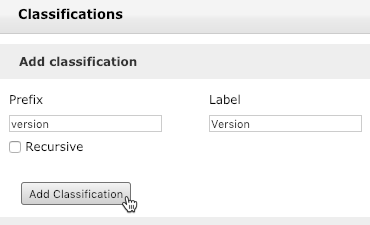
- Click Add Classification to save the new classification type.
- After the Classifications page refreshes, scroll down to find your new classification type.
- Enter a Tag and Label for each option you want to include with your custom classification.
- Click Add Tag to save each option.
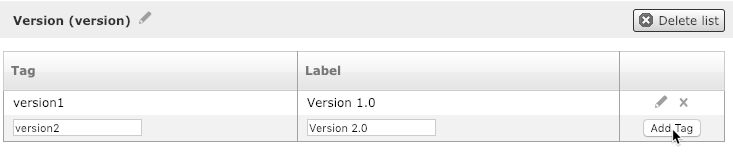
Each Label will appear, in the order it was added, within the drop-down menu for this classification in Page Settings.