
Add and remove users from groups
- Applies to:
- All MindTouch Versions
- Role required:
- Admin
Add users to groups or remove them to manage your workflows.
By creating groups, your administration tasks can be completed in a few clicks.
Once SAML is enabled, the IdP becomes authoritative for group membership. Users must be added to groups within the SAML provider and cannot be managed locally.
Prerequisites
Add users to a group
- On the toolbar, navigate to Site tools > Control panel.
- In the control panel, under Users & Groups, select Users.
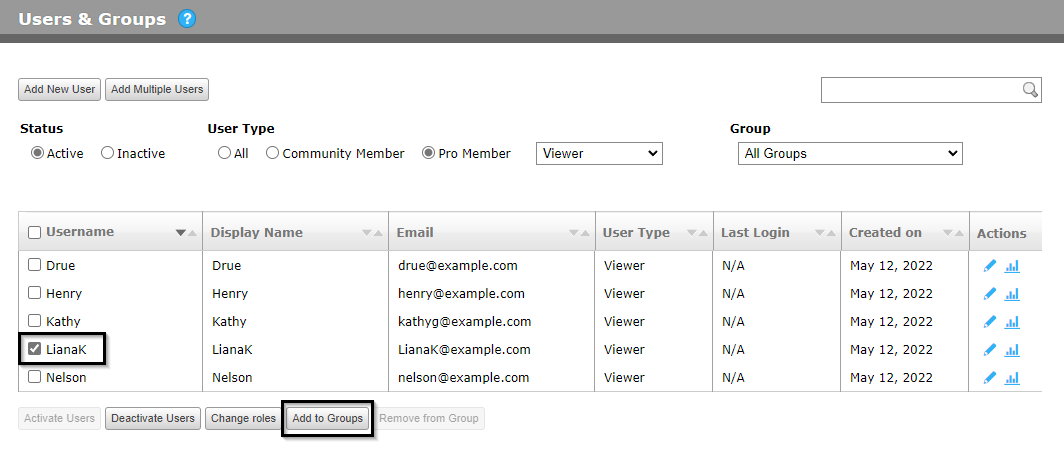
- Check the checkbox of the user you want to add to the group and click Add to Groups.
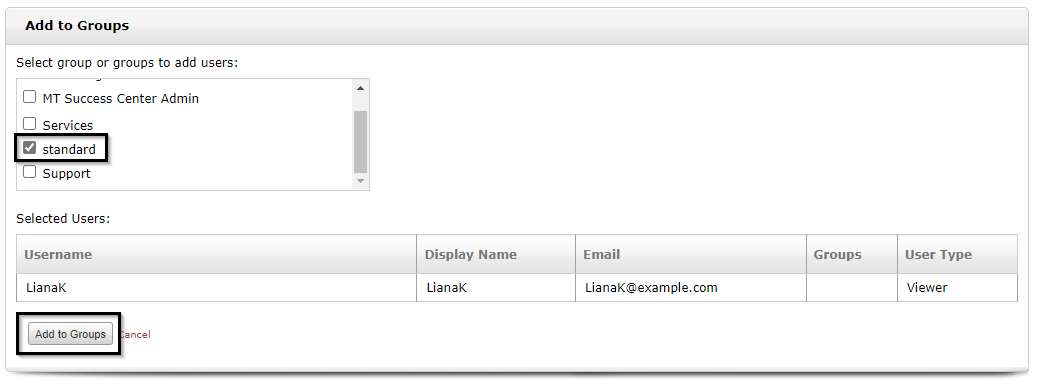
- In the Add to Groups dialog, check the group you want to add the user to.
- Click Add to Groups.
Remove users from a group
- On the toolbar, navigate to Site tools > Control panel.
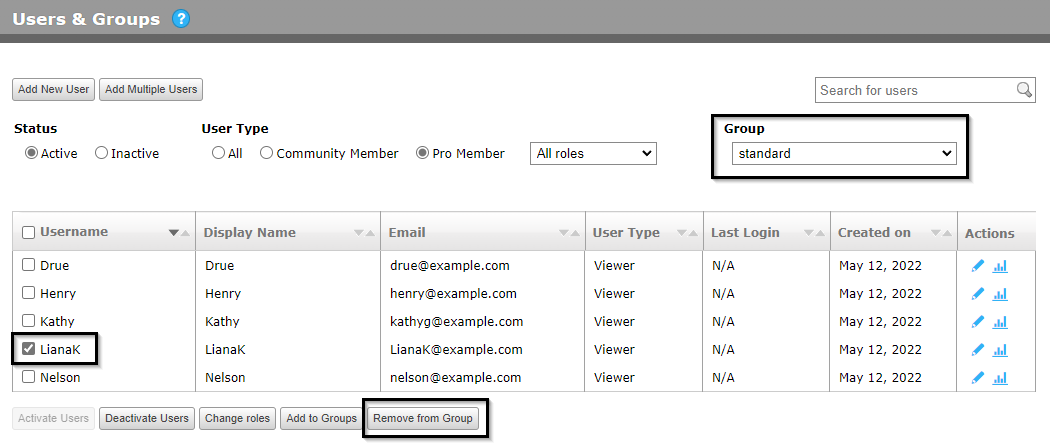
- In the control panel, under Users & Groups, select the appropriate group from the Group drop-down list.
- Check the checkbox of the user you want to remove from the group.
- Click Remove from Group.
- To confirm deletion of the user from the group, click Remove.