User and group provisioning with Okta
- Applies to:
- MindTouch (current)
- Role required:
- Admin
Features
Supported
- Create users
- New users created through Okta will also be created in the Expert site.
- Update user attributes
- Updates made to the user's profile through Okta will be pushed to the Expert site.
- Deactivate users
- Deactivating the user or disabling the user's access to the application through Okta will deactivate the user in the Expert site.
Deactivating a user removes the user's ability to sign in but maintains the user's Expert information as an inactive user.
- Deactivating the user or disabling the user's access to the application through Okta will deactivate the user in the Expert site.
- Reactivate users
- User accounts can be reactivated in the application.
- Group push
- Groups and their members in Okta can be pushed to the Expert site.
- Import users
- Intended to import existing Expert users into Okta
- Import groups
- Intended to import existing Expert groups into Okta
Unsupported
- Sync password
- Profile master
After a successful implementation, user management is controlled within Okta. In Expert, User and Group roles are moved from the Control Panel into the Dashboard under /Special:Dashboard/SiteAdministration/UserGroupManagement.
 From here you can assign a seat level to a user or change their status from Seated to Unseated and vice versa.
Requirements
Contact the Expert Support Team to enable user and group provisioning in Okta.
Configuration
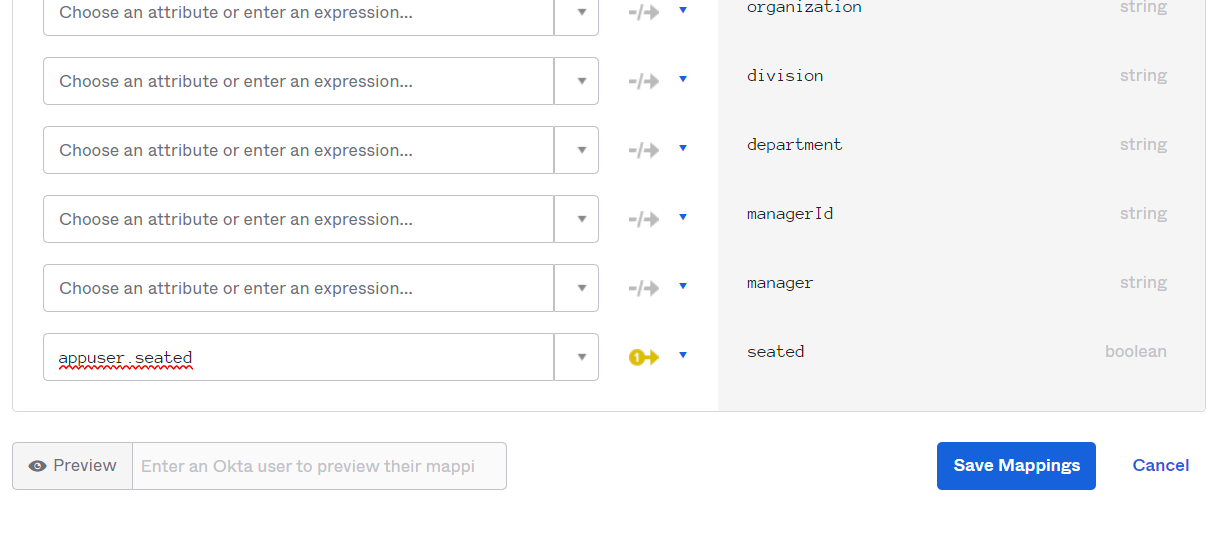
A new property, user.seated, is required on the Okta user profile under Directory > Profile Editor. Click on User (default).
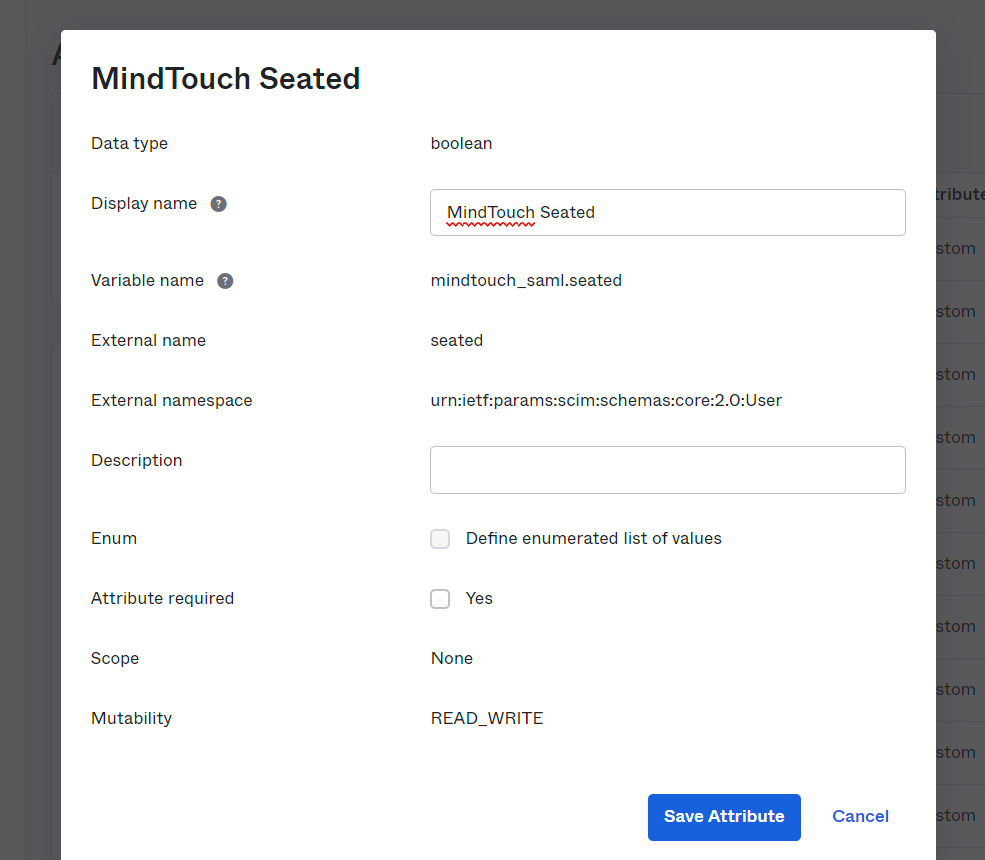
The new property appuser.seated is mapped to the Expert SAML app's seated property.
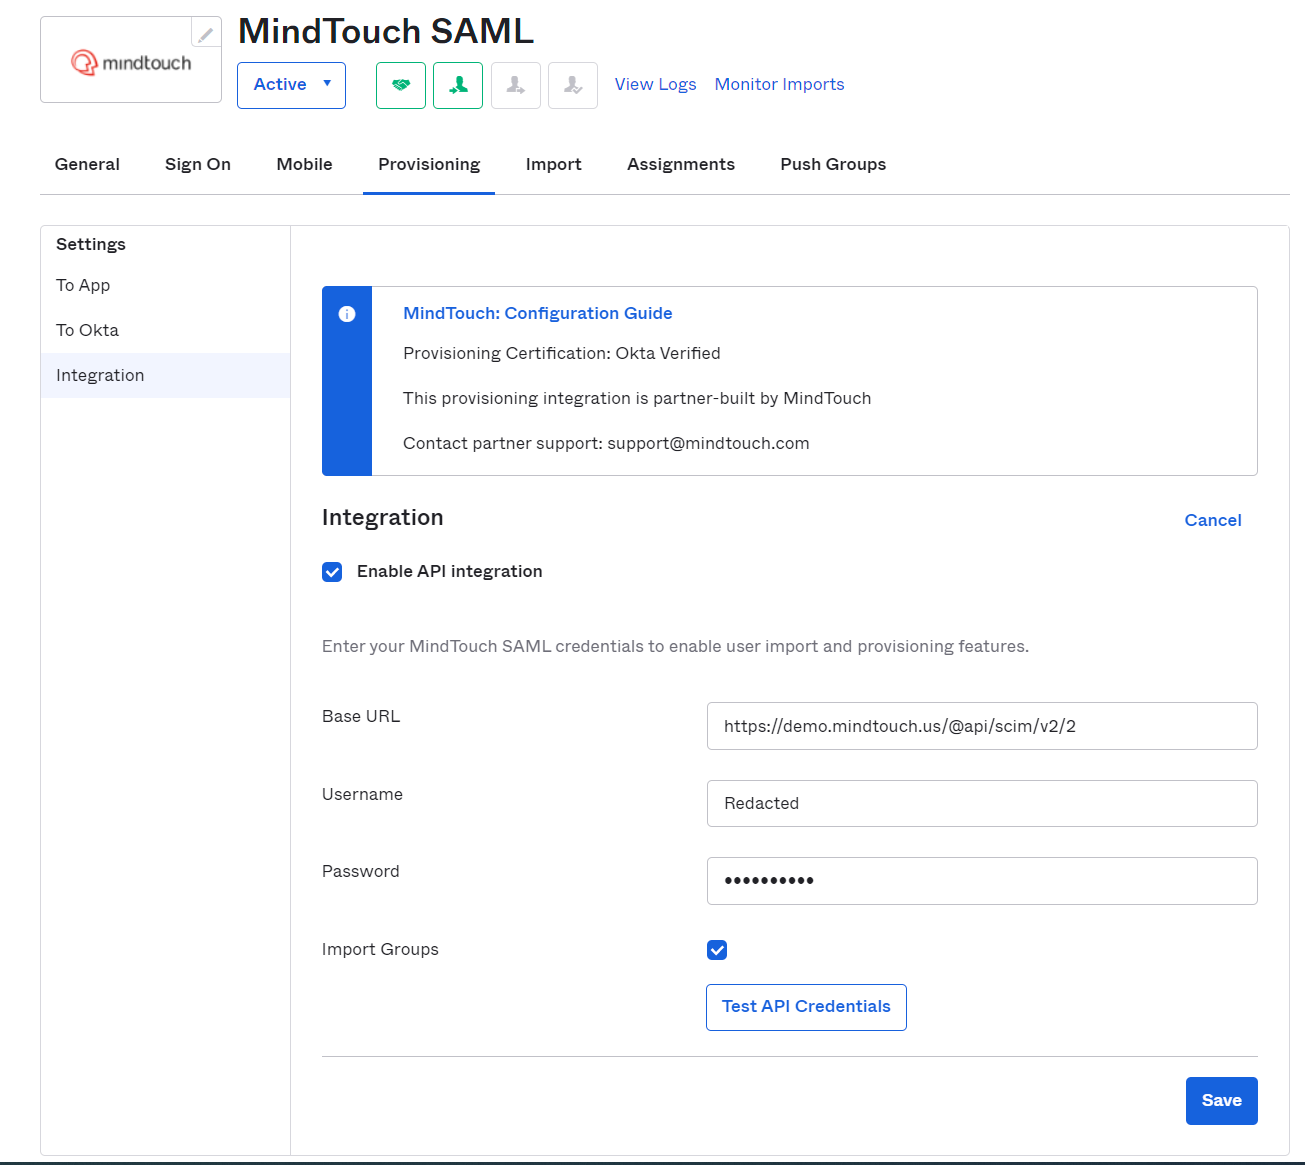
After user and group provisioning with Okta is activated, you must provision a Server API Token to connect Expert and Okta. The following instructions provide step-by-step instructions to enable provisioning in the Expert application located in the Okta Integration Network.
- Check the Enable provisioning features box.
- Click Configure API Integration.
- Check the Enable API integration box.
- Enter the API Token key and secret.
- Click Test API Credentials; if successful, a verification message appears at the top of the screen.
- Click Save.
- Select To App in the left panel.
- Select the Provisioning Features you want to enable.

- Click Save.
- You can now assign people to the app (if needed) and finish the application setup.
Troubleshooting
Initial activation of User and Group Provisioning with Okta requires contacting the Expert Support Team. Please reach out with any questions during your configuration process.