
How to customize the Instant Translation drop down menu
Customized Branding for Instant Translation
After turning on Instant Translation for your site, you may need to modify the interface design or placement to better suit your audience. Follow the guide below on how to change different aspects of this functionality. Changes to the User Interface (UI) can be placed in the Control Panel CSS or in your Custom Header template.
Instant Translation Placement
When first enabled on your site, the Instant Translation UI appears in the header section of your HTML; below the custom header (.elm-header-custom) and above the default navigation (.elm-header-logo-container and .elm-header-homepage-nav). Most sites will be using a custom header (controlled in the templates section of the site [Custom Header and Footer]) and hiding the default navigation. You will need to use JavaScript and CSS to modify the UI.

Instant Translation Menu Customization
If you already have localized sites, you can customize the list of languages using JavaScript and CSS to modify those HTML elements.
Instant Translation CSS Classes
If you would like to customize the design of the UI elements, you can add custom CSS that targets the following classes:
- Instant Translation parent container
.mt-translate-module- Use this to position the UI
- Instant Translation container
.mt-translate-container- Use this to modify the visual feel of the UI
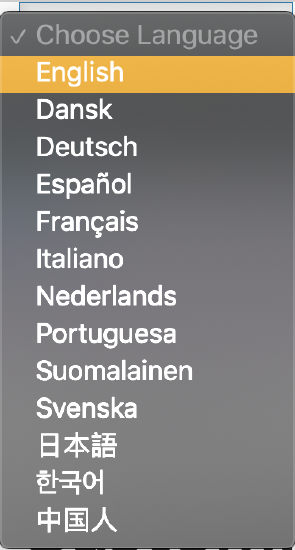
- Instant Translation menu
.mt-translate-language-picker- Use this to modify the language choices in the UI
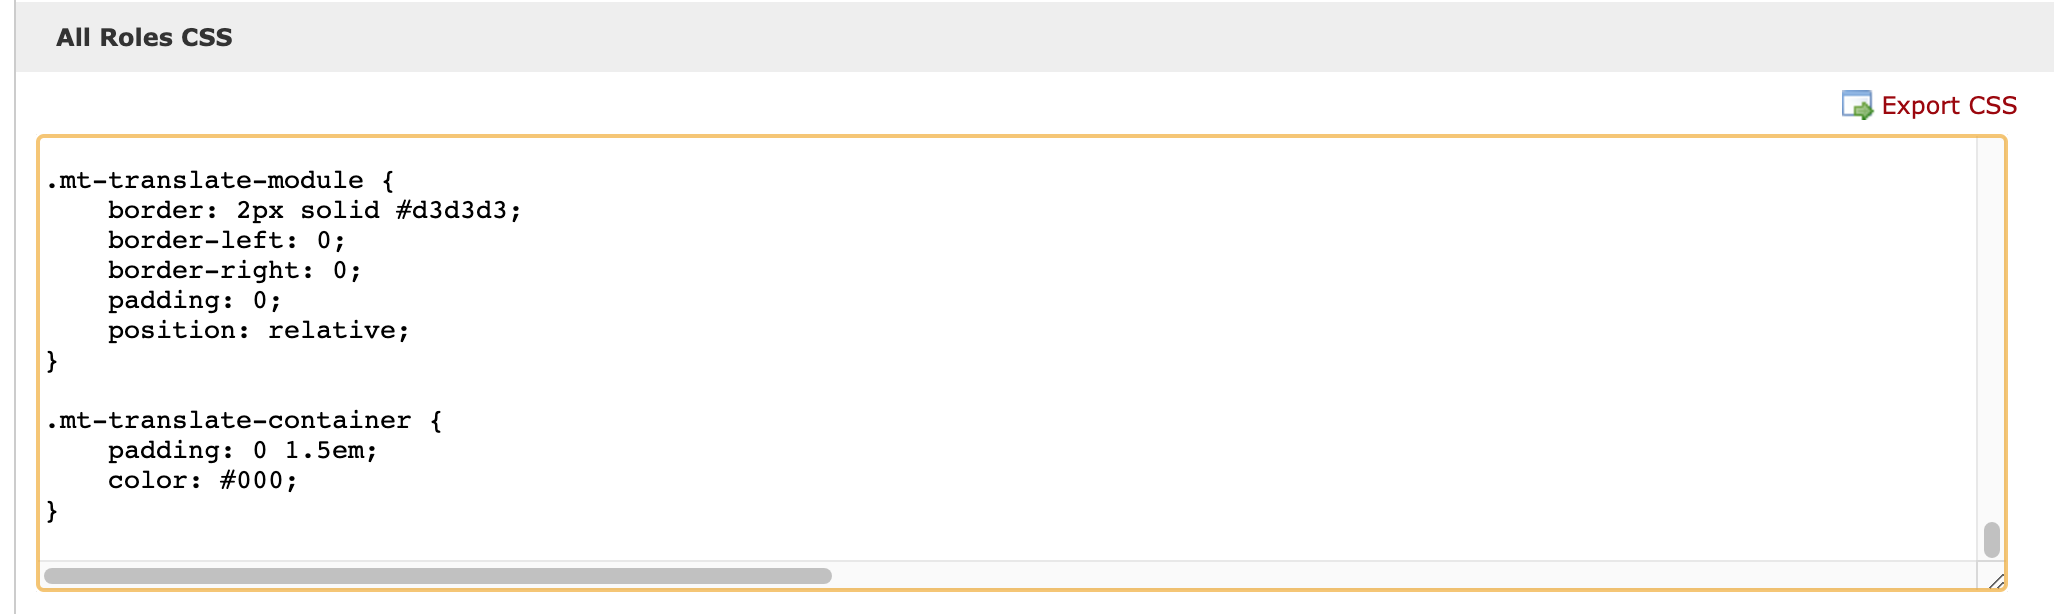
Example CSS
We can help
For expert guidance on branding and advanced features, contact MindTouch experts.
Get Expert Help